Skip to Content

Category Archives: Recipes

Celebrating Pumpkin

This my favorite season of the year: Fall! It’s such a beautiful time, with the colors of the leaves changing, the crisp air in the mornings, the rustle of the leaves of the ground (I always shuffle through the piles on the sidewalk during my walks!). I love when we finally get to cool nights and I can open the windows and turn off the air conditioning. It’s also sweater weather! I think it’s the best when I don’t need to bundle up in a coat, but I can get out my snuggly sweaters and layer up. The kids love it when it’s finally cool enough to have a fire in the fireplace in the evenings. And I can’t forget the delicious flavors of fall! Hot chocolate, spiced apple cider, cinnamon anything, and of course, pumpkin!
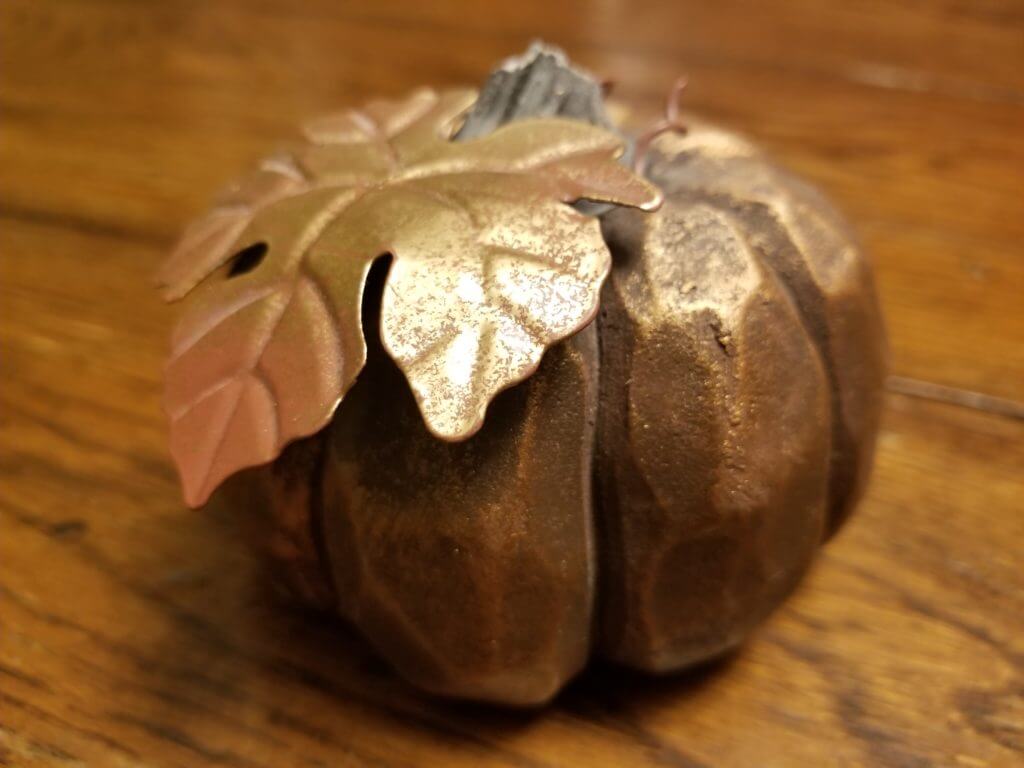
 

Cute, right? 


Now, I’m not going to get into that debate about pumpkin pie vs sweet potato pie – no matter what side you are on, there’s an argument for the other. I like both! But since I eat sweet potatoes all year, and pumpkin only comes around in the fall, I want to feature pumpkin with two recipes that you can make and have your own pumpkin celebration! My girls have been getting into baking and have used up my stash of pumpkin, but fortunately I have just enough left for this season…


So let’s make some pumpkin yummies! 


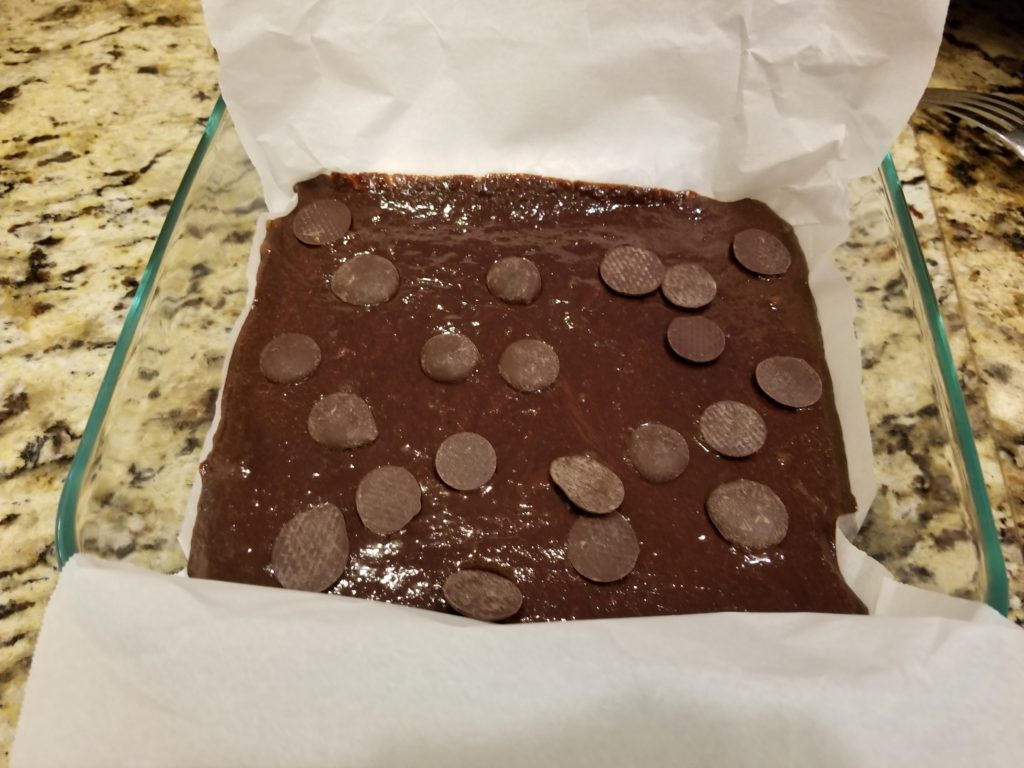
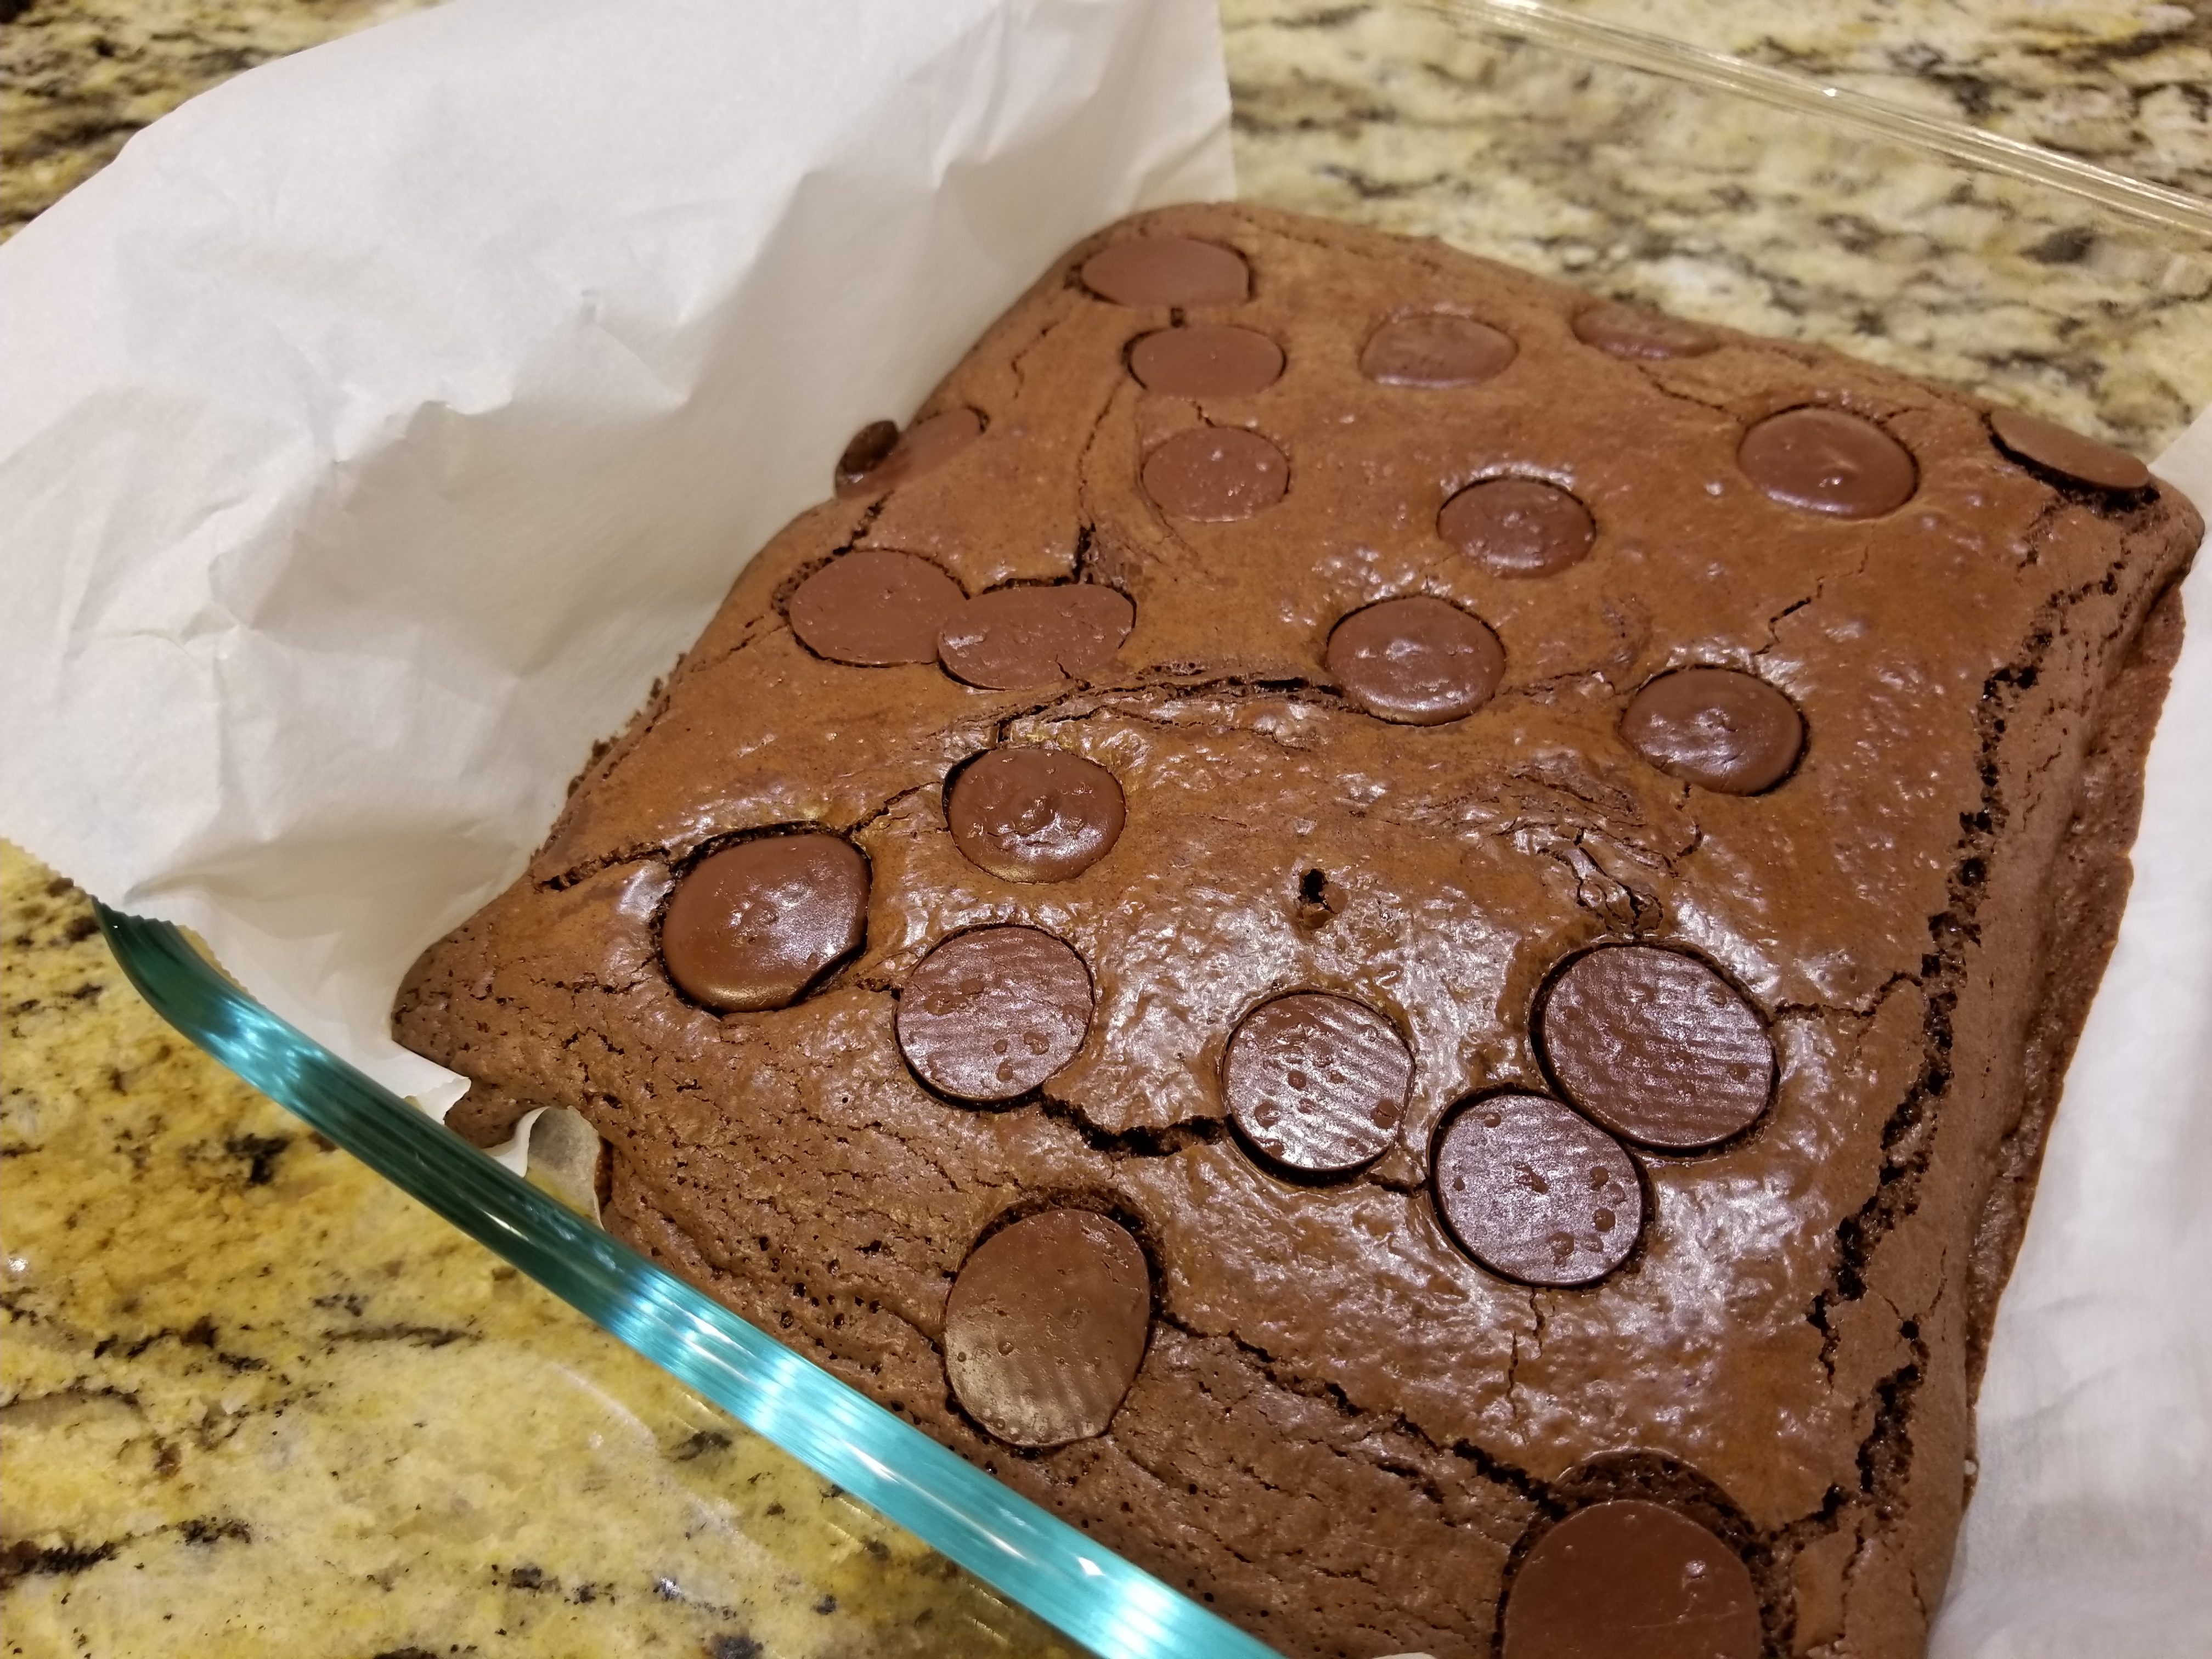
First, we’ll make vegan and gluten free pumpkin bars. I mentioned in the past that my youngest is gluten sensitive, so we bake gluten free or very low gluten around here to avoid the inevitable disappointment that would come if she couldn’t share in the treats.  I got this recipe from one of my favorite clean eating recipe sites: detoxinista.com. Her recipes are great when you’re looking to avoid certain foods and get away from processed traditional flours and sugars.

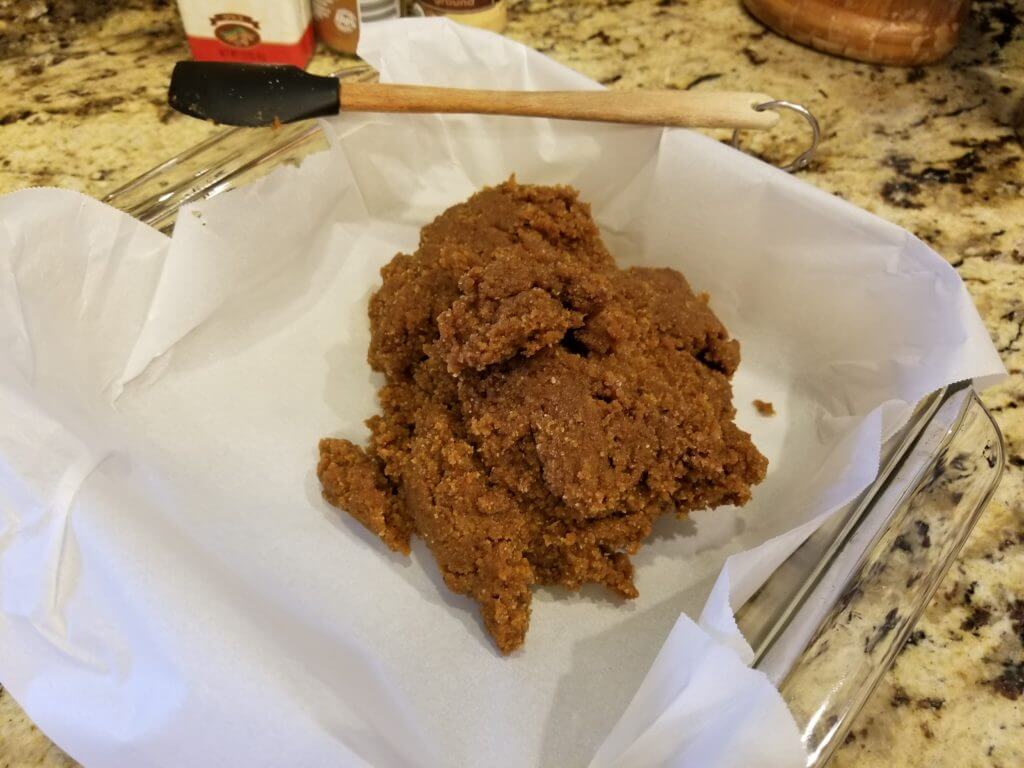
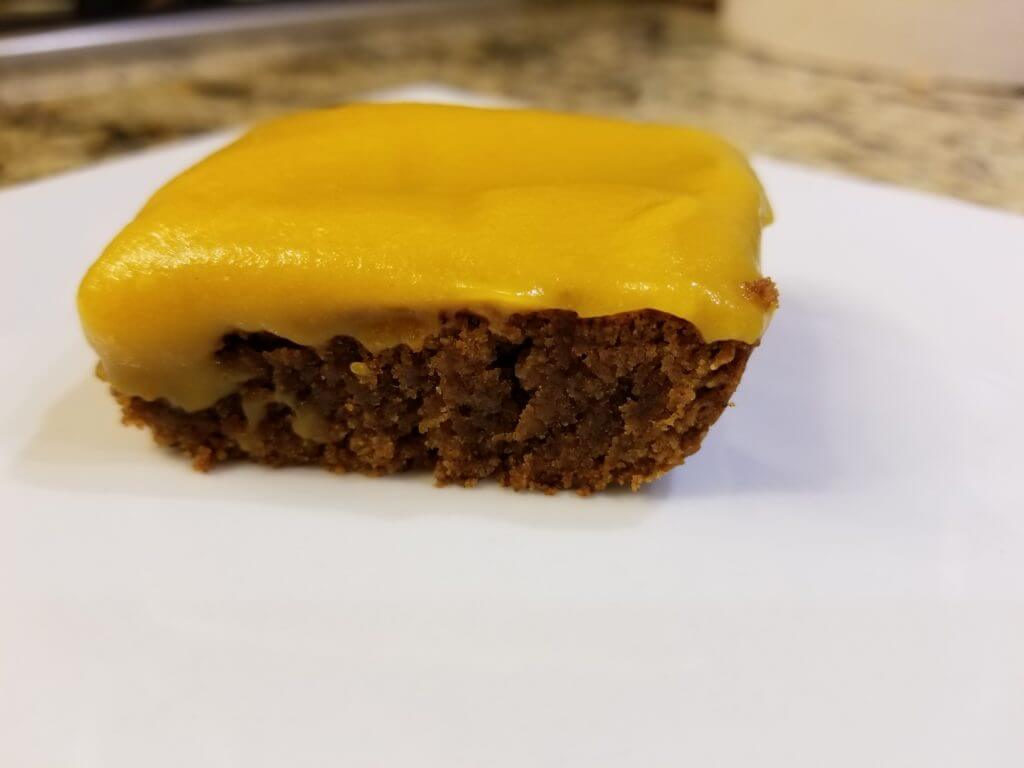
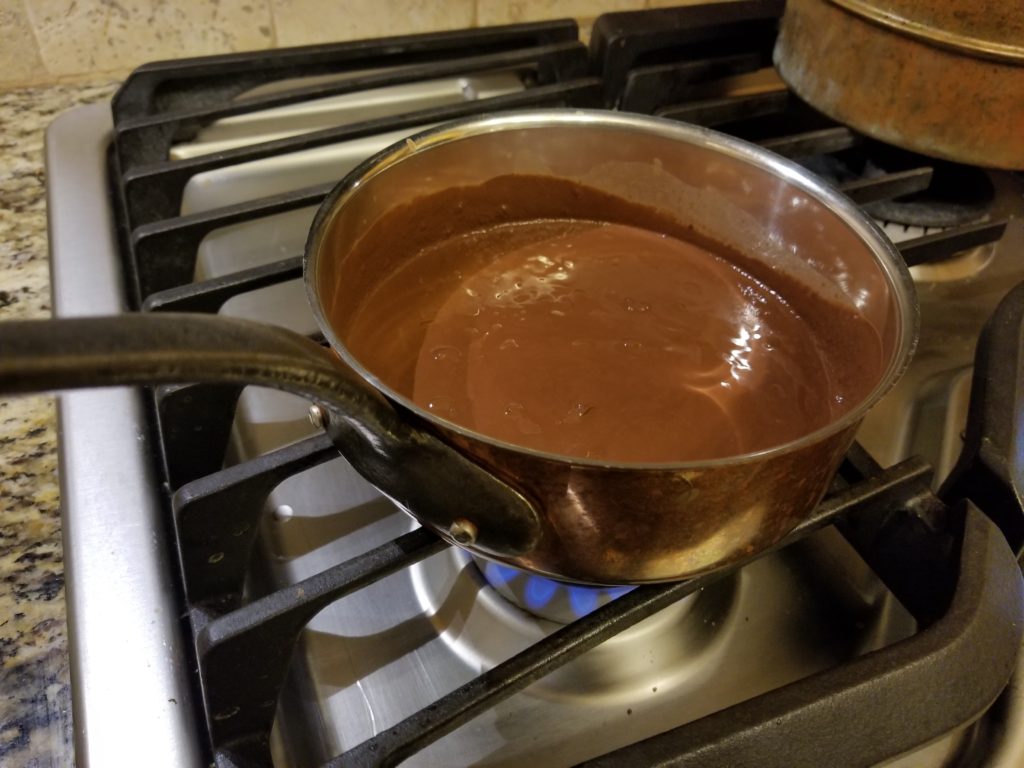
While I was making this one, it seemed like it was going to be a really heavy and dense bar, but it came out moist and delicious! There’s also a delicious dairy free and vegan frosting for the bars which was really good. You’ll never guess what the main ingredient was – go to the link and read her recipe and find out!


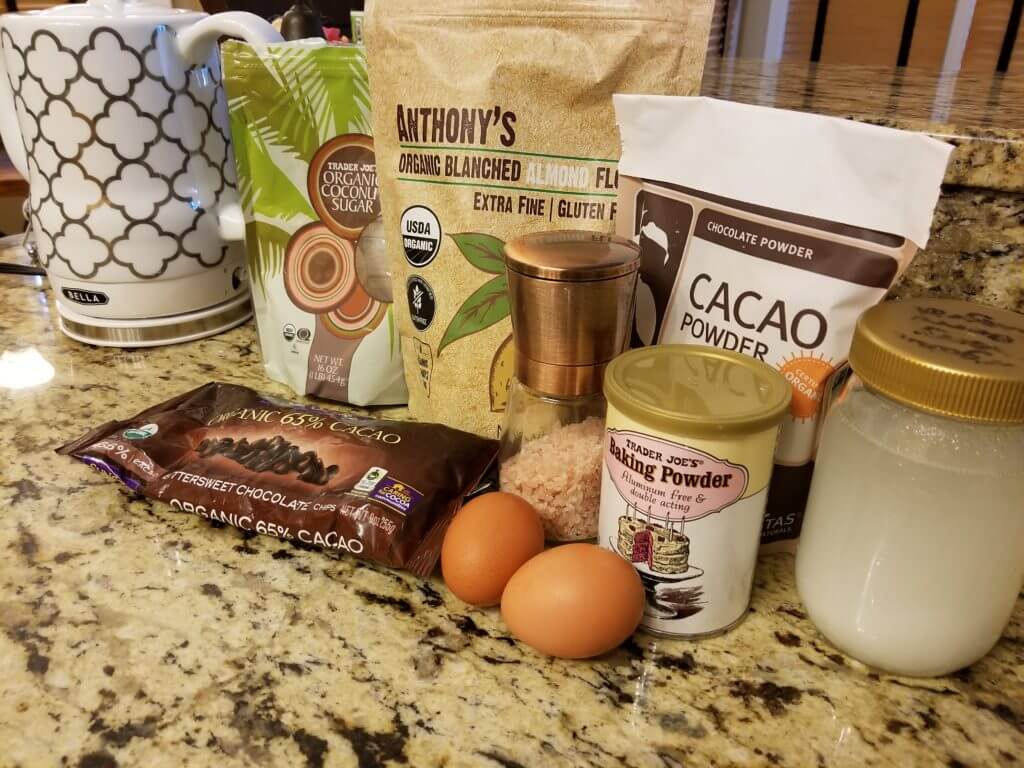
Vegan Pumpkin Bars (detoxinista.com)
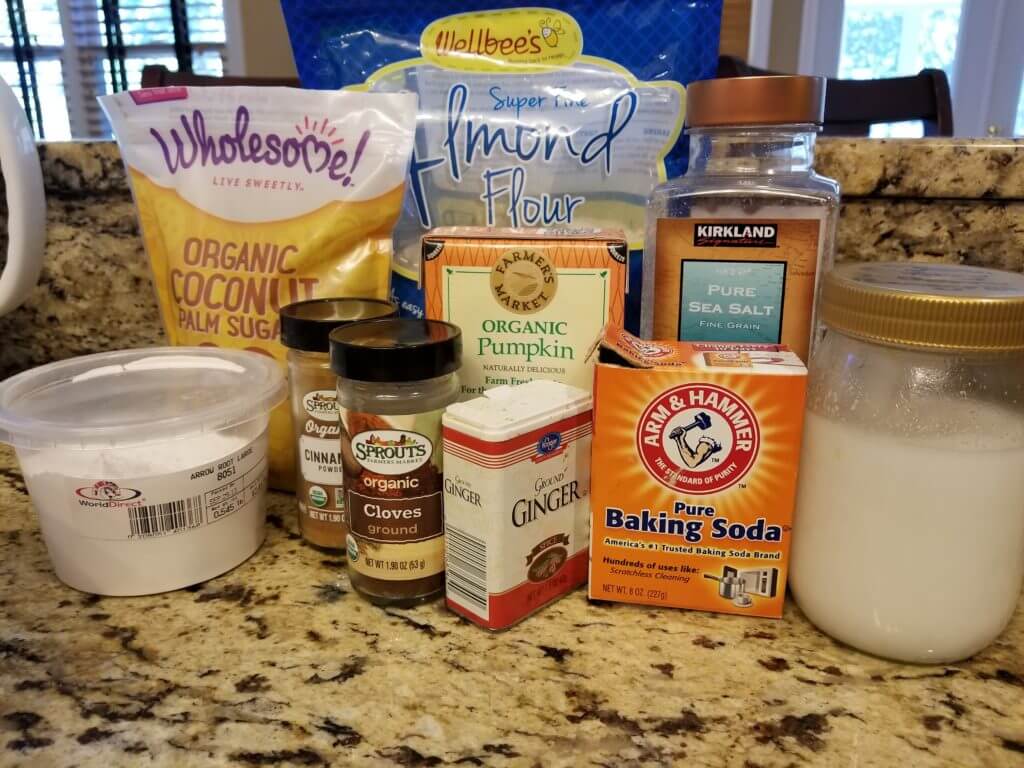
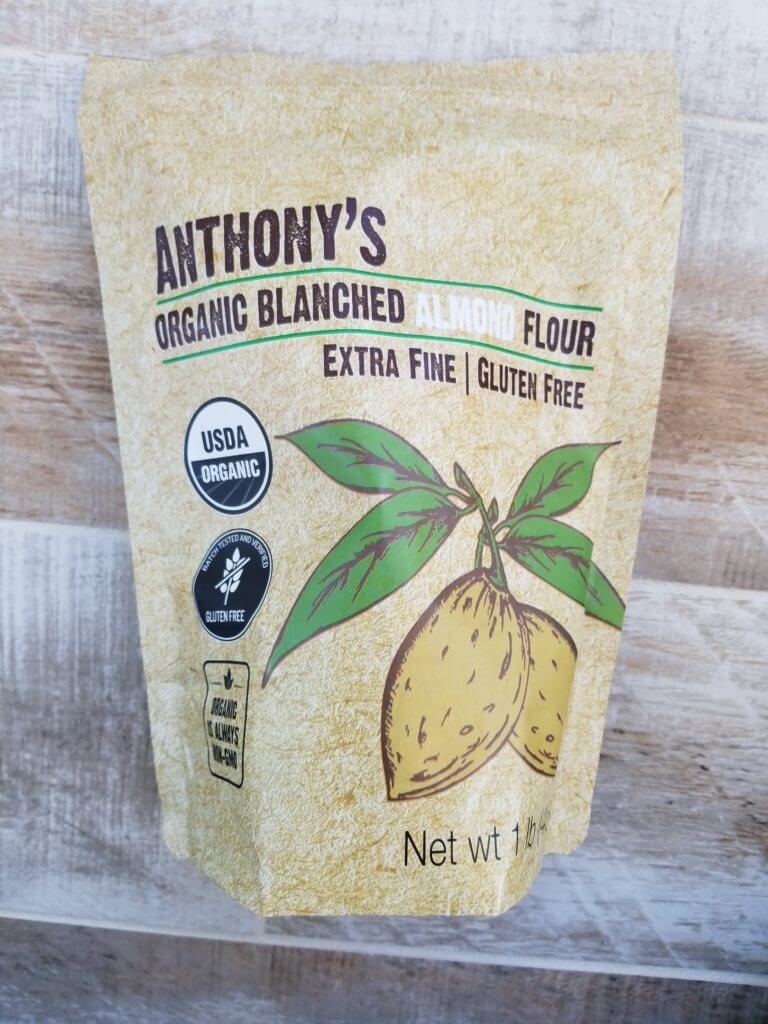
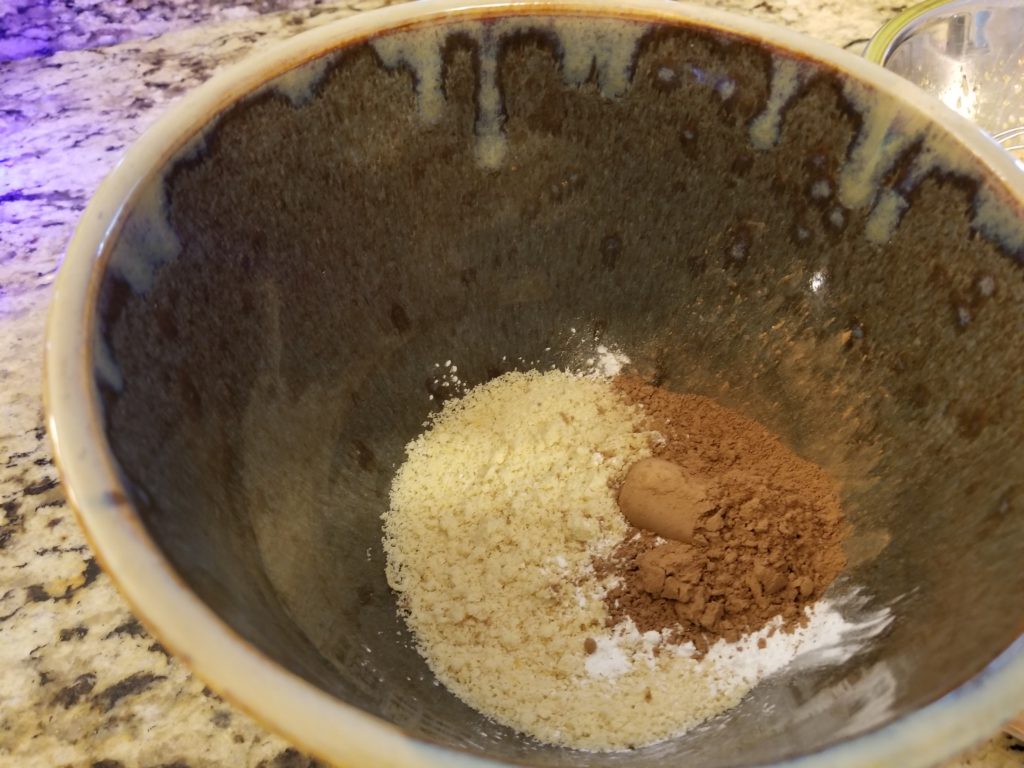
 
Ingredients


Instructions
Preheat the oven to 350ºF and line a 9-inch square baking dish with parchment paper.
In a large mixing bowl, whisk together the almond flour, arrowroot, coconut sugar, baking soda, cinnamon, ginger, cloves, and salt.
Add in the pumpkin and coconut oil and stir well until a thick, moist batter is formed. (It will feel crumbly at first, so keep mixing until it’s thick and uniform.)
Transfer the batter to the lined pan and use a spatula to spread it evenly into the pan, smoothing the top. Bake until the top feels firm to a light touch, about 35 minutes.
Let the bars cool completely before slicing into them, as they are very fragile when warm. They will firm up when they cool, so you may even want to place them in the fridge to speed up the process. Slice and serve as is, or top them with a dairy-free frosting for a more decadent treat. 


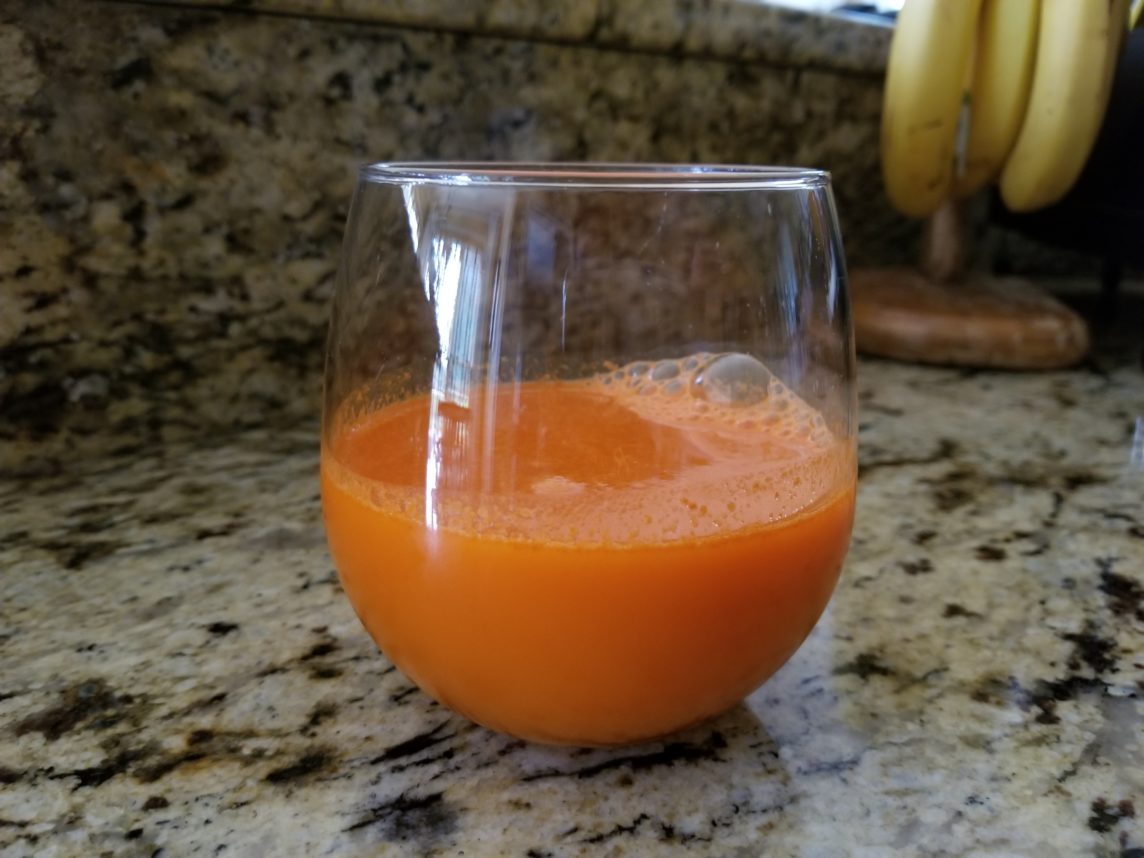
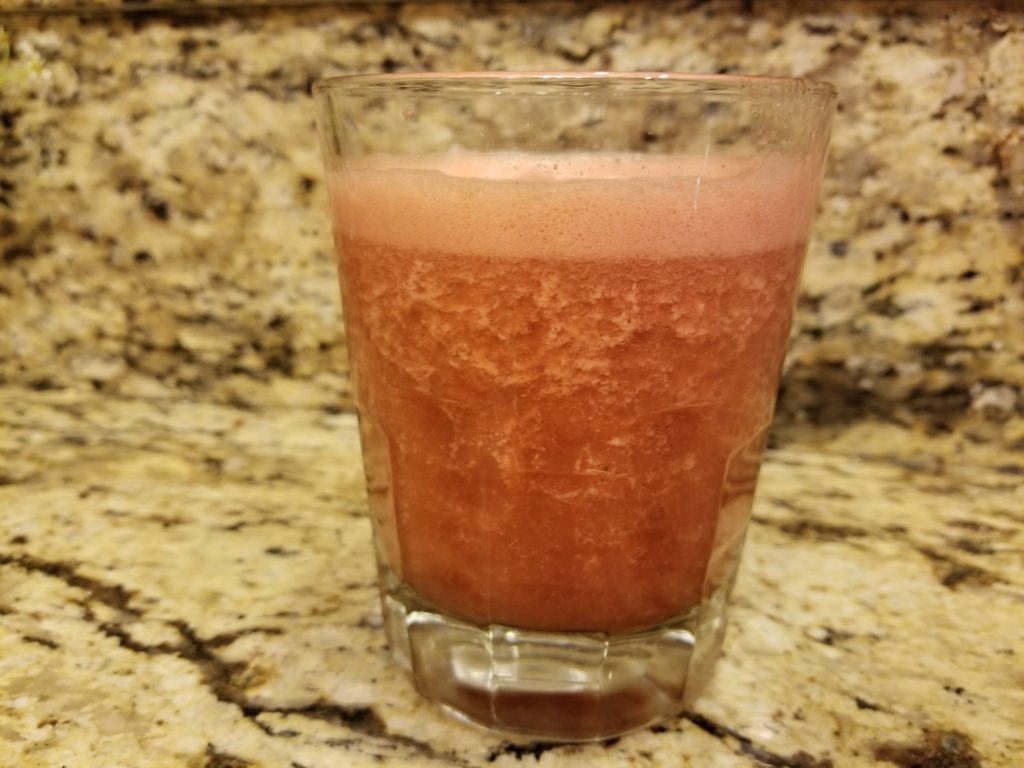
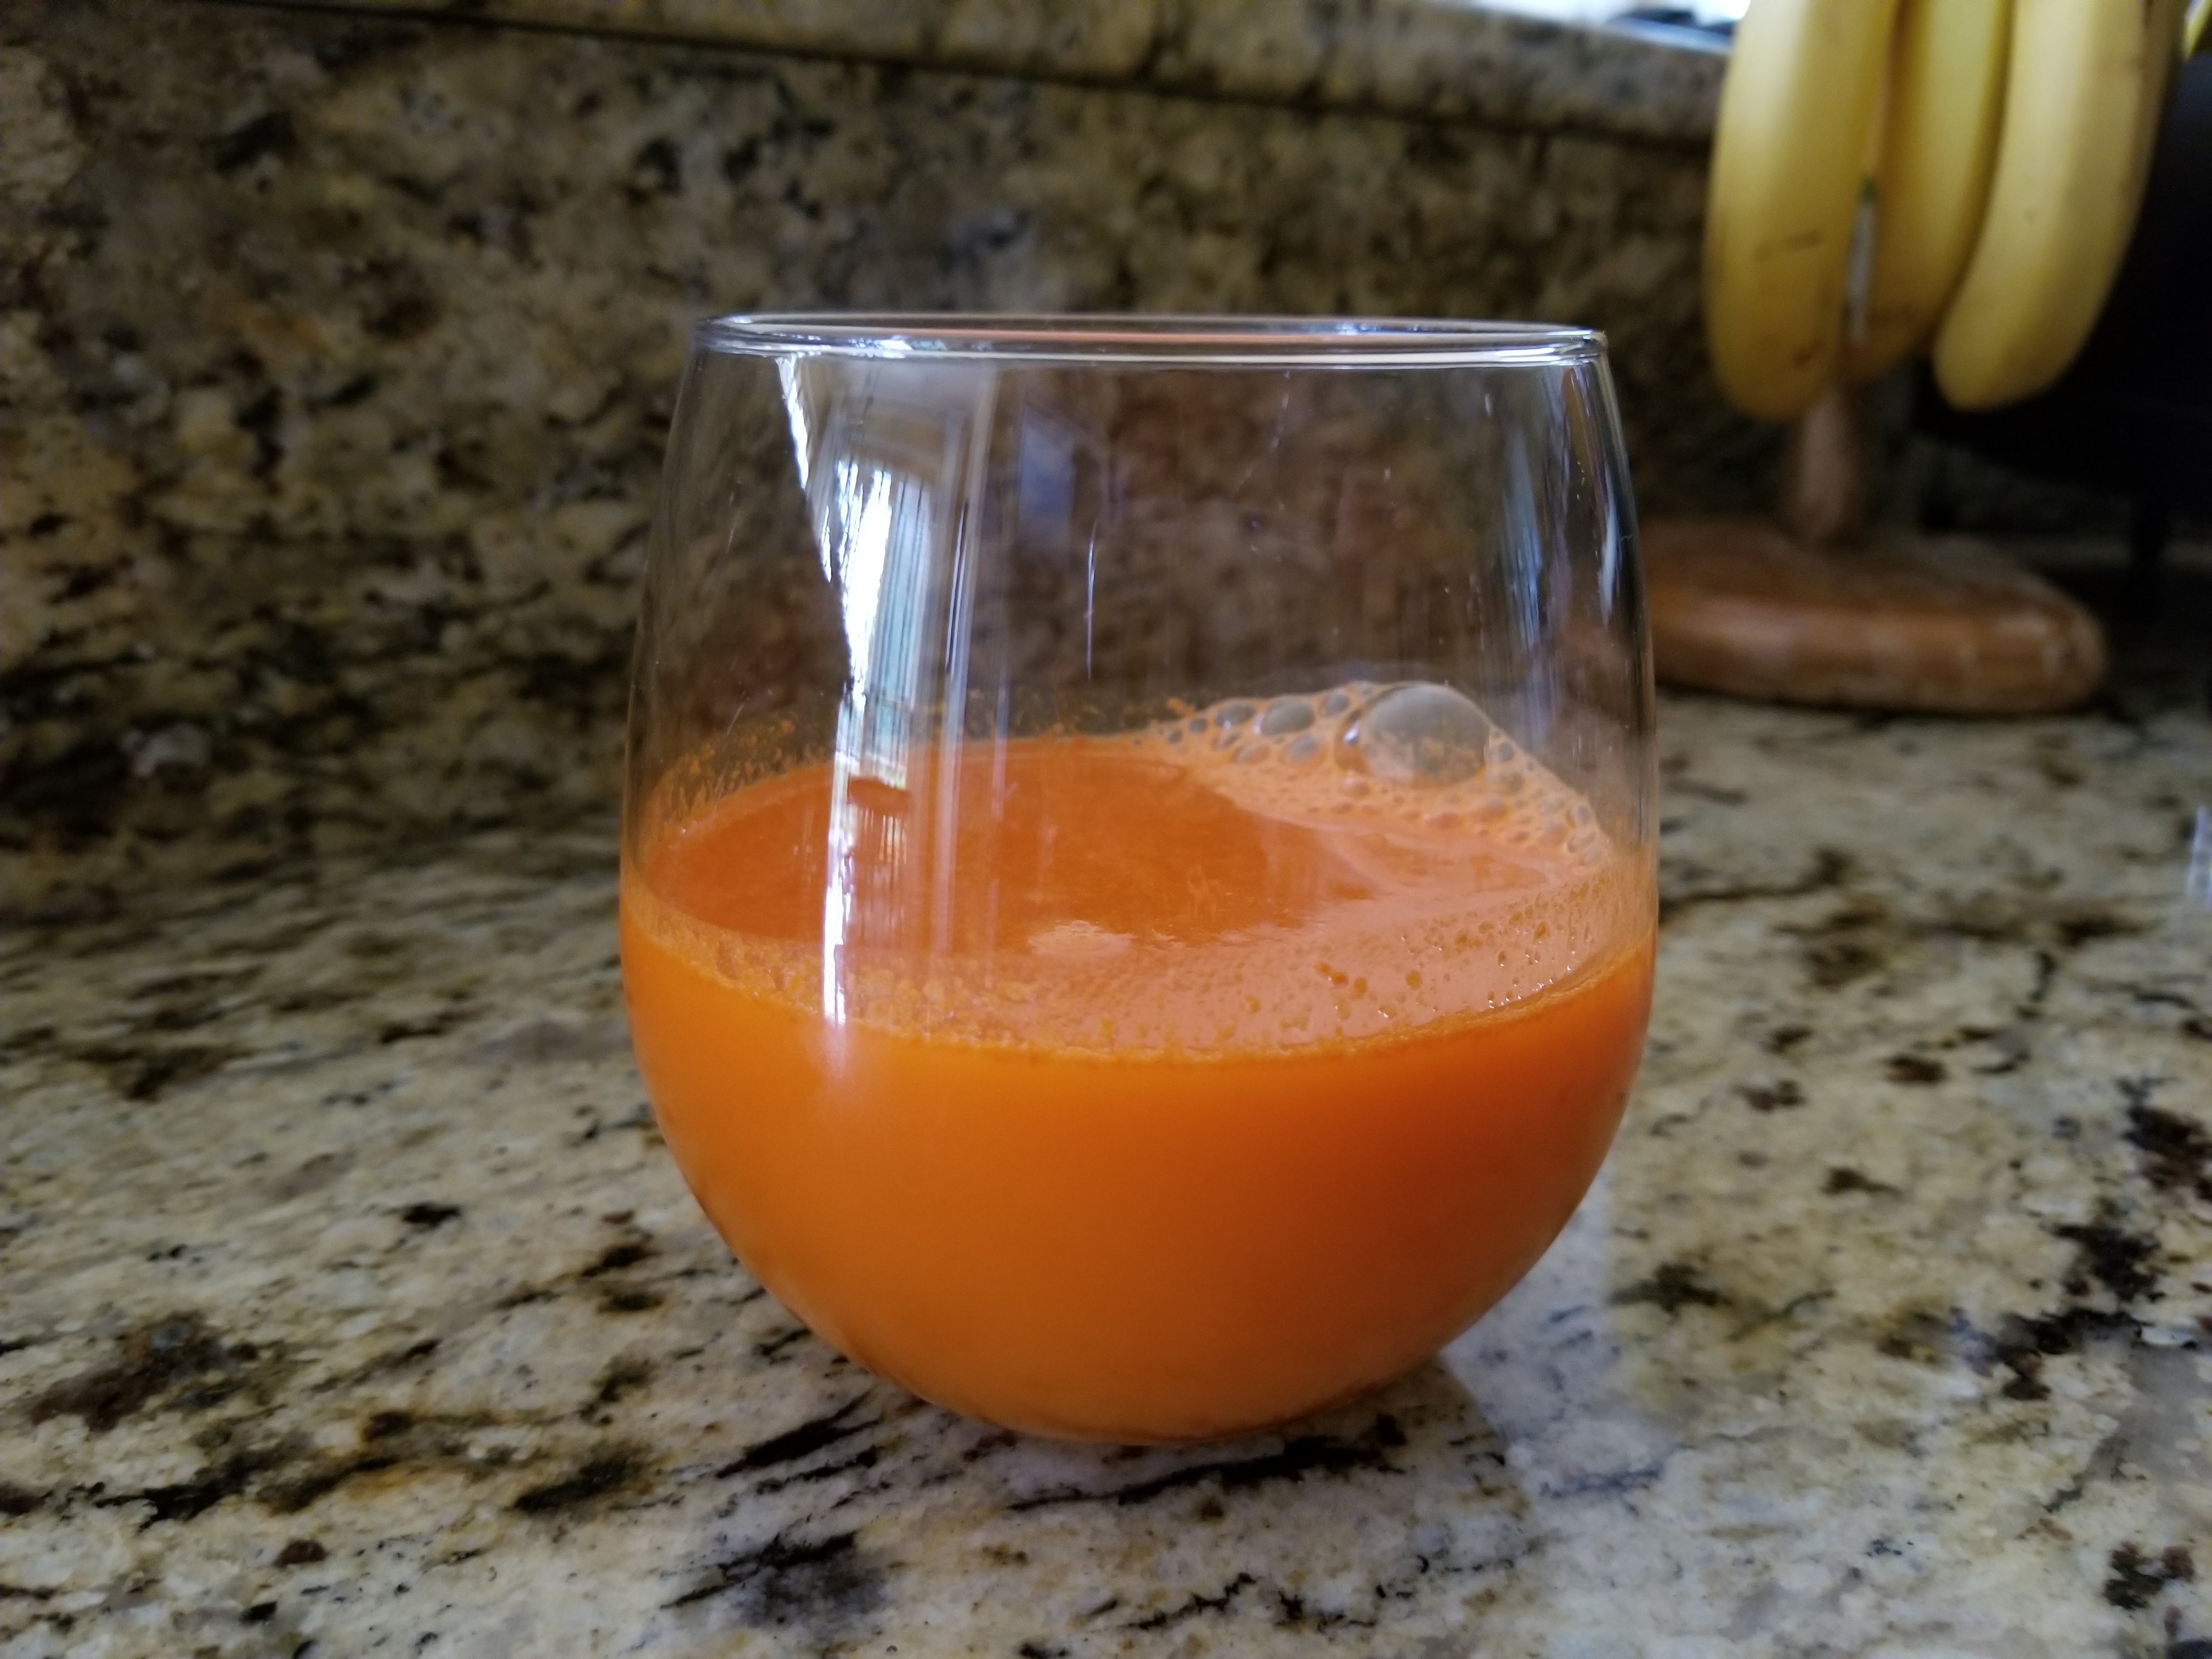
Pumpkin chai smoothie (from PaleoLeap)
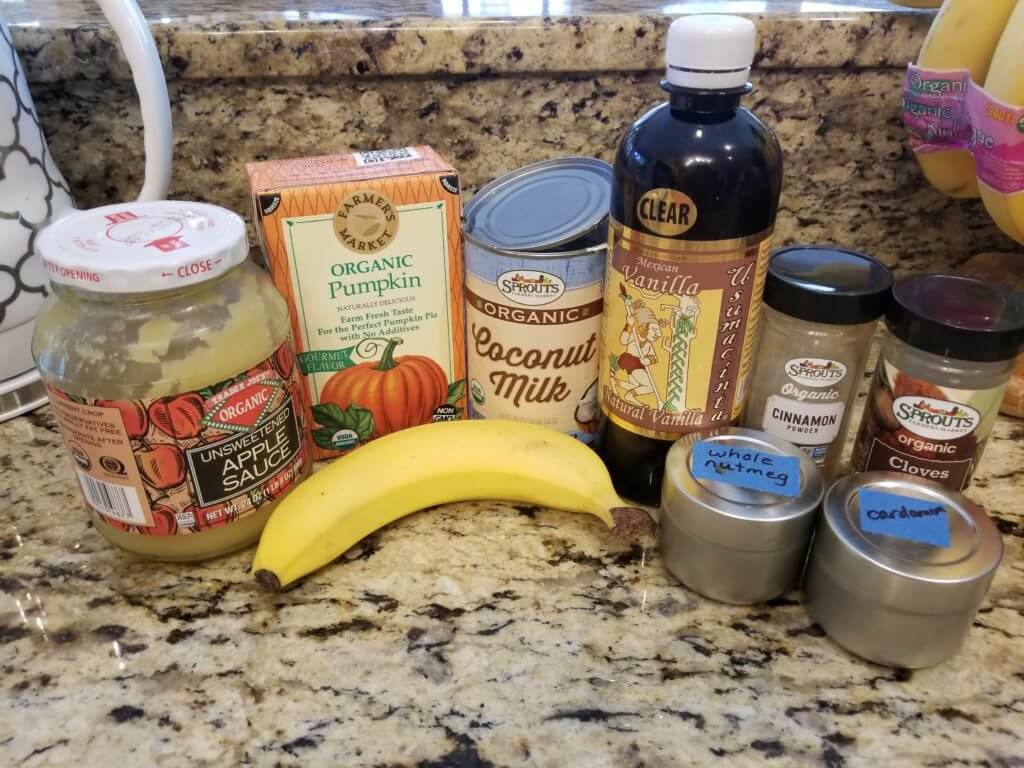
Ingredients

  • 1 cup of pumpkin puree;
  • 1 cup yogurt or coconut milk;
  • ½ cup apple juice or water;
  • 1 banana;
  • 1 tsp. pumpkin pie spice;
  • ¼ tsp. vanilla extract;
  • 1 cup of ice;
  • Pecans, crushed; (optional)


Now, I made some modifications to this recipe. I like pumpkin more than banana, so I added an extra half cup of pumpkin. Also, this smoothie is a little on the thin side. Think more pina colada and less smoothie. I liked it, but if you want it thicker you can make two more changes. Instead of using ice, chill all your ingredients and cut up your banana and freeze it before blending. When I made this, I didn’t have apple juice, so I used the applesauce and water. This meant it wasn’t as sweet, so I added a little stevia.

Also, you can add a tablespoon or two of almond butter for thickening, protein, and good fat. I also didn’t have pumpkin pie spice, so I used a sprinkle of cinnamon, freshly grated nutmeg, cloves and cardamom (just a pinch!). You can adjust your seasoning to be as spicy as you like!
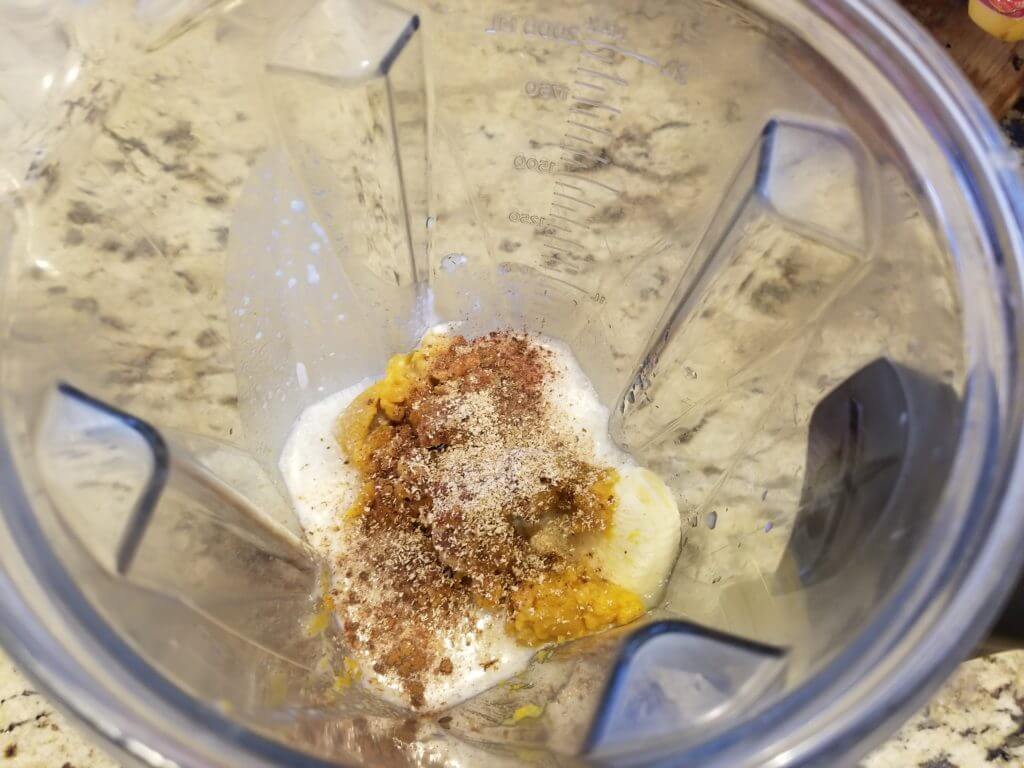


Instructions:

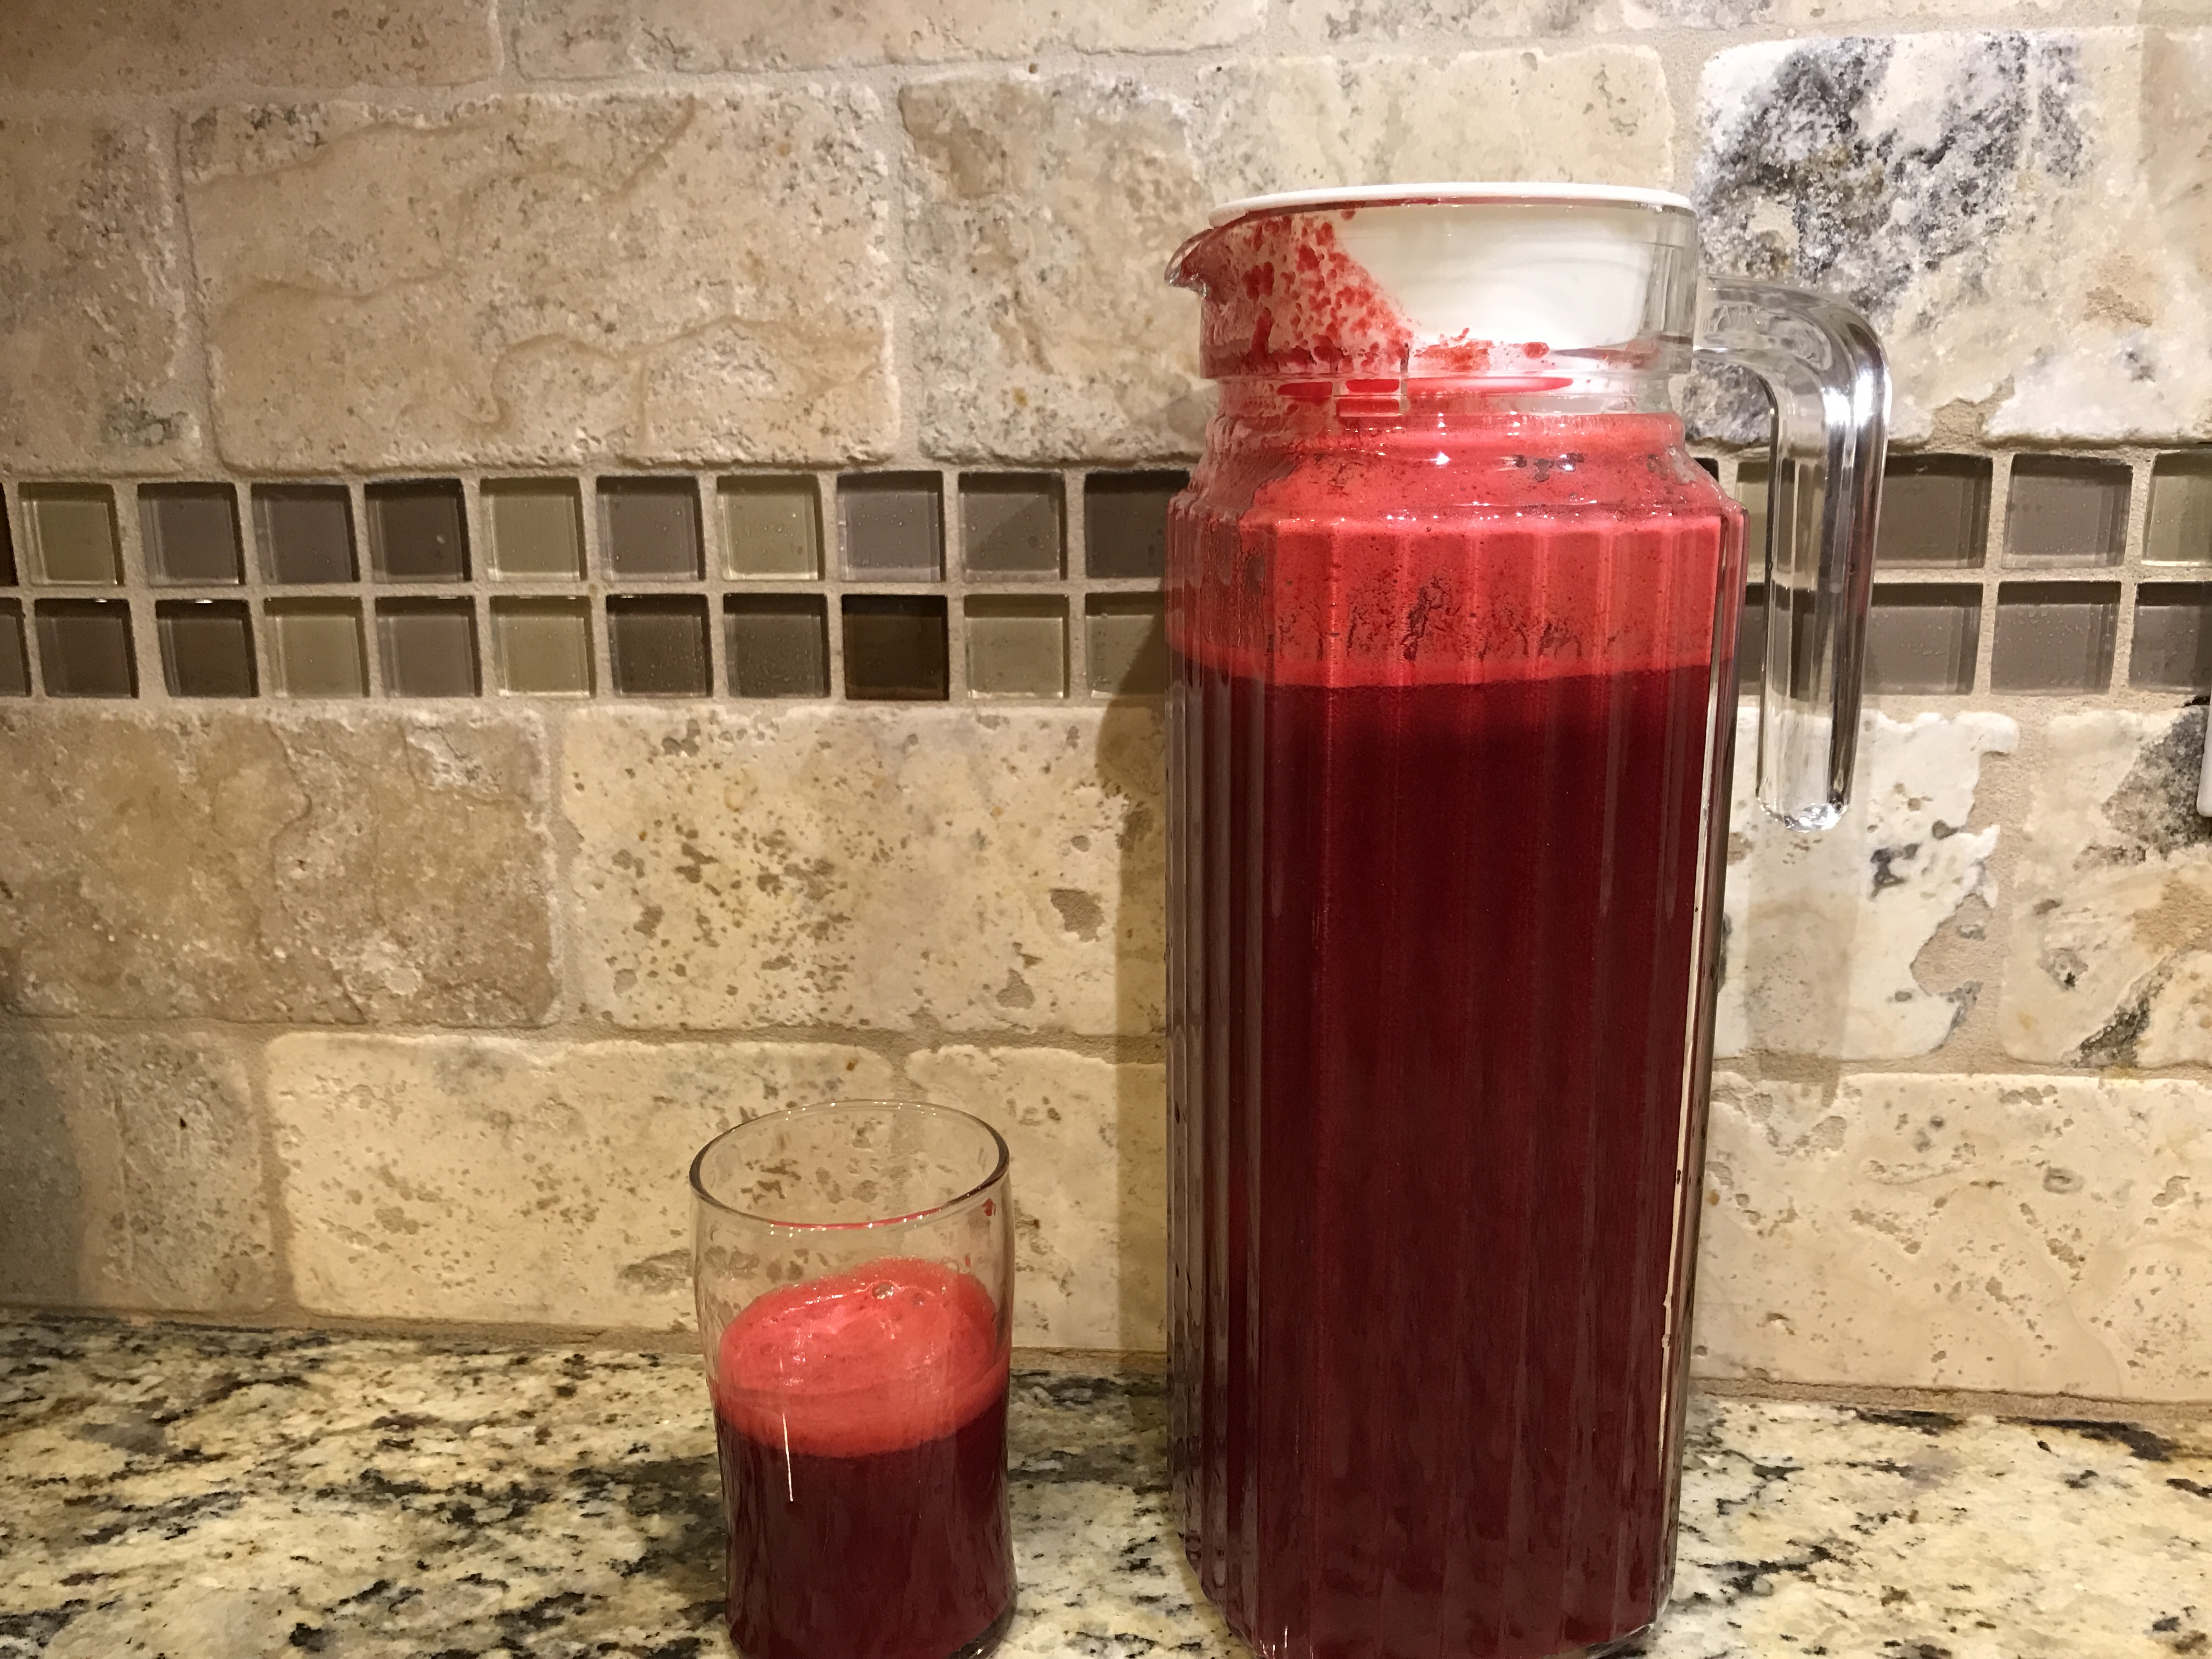
Blend everything together and add more spice as you like. Top with pecans, coconut whipped cream or a sprinkle of cinnamon and enjoy!
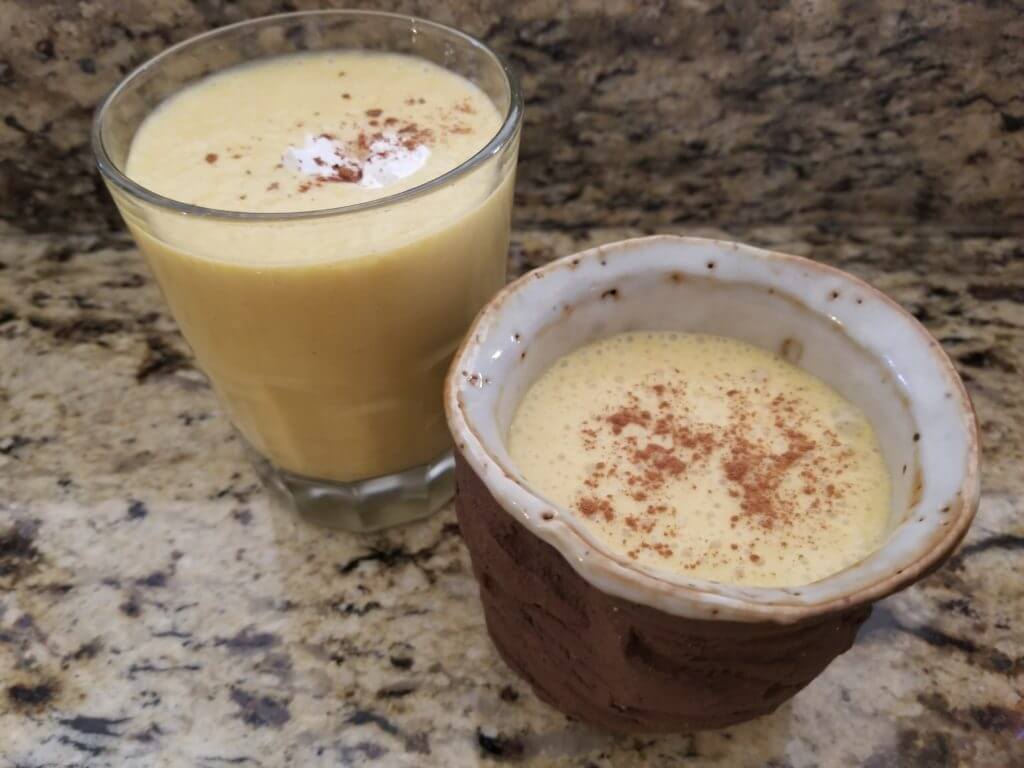


Enough to share!


What are your favorite fall recipes? Any specialities for Thanksgiving? Please share in the comments below!


READ MORE

Vegan Spaghetti Squash Casserole

Before this casserole, I made spaghetti squash once. And I said I would never, ever make it again. It seemed like a great idea at the time, a vegetable that cooked up into ribbons like spaghetti. Low carb veggie pasta? Brilliant! I bought one, cut it in half, and baked it cut side down like a butternut squash in a little bit of water. Don’t ever do that. I got a soft, stringy, mushy pile of squash, not at all the noodle-like veggies pasta I wanted. It went directly in the trash.


Many years later, my husband’s aunt is now living here with us and is our kids’ amazing one-room schoolhouse teacher. She’s been a vegetarian for more than twenty years, so she’s teaching me a lot! She came in one day with a spaghetti squash and threw together this recipe for her dinner, which I promptly told her I was not going to eat. After she convinced me to try it, I realized that the problem was that I didn’t know how to cook the squash! So, I got the cooking instructions from Auntie, retooled the recipe to make it vegan, and got this delicious dinner.


I made the casserole as an experiment. For Sunday dinner that night, I’d made a veggie spaghetti sauce, black rice spaghetti, salad and einkorn bread. I took some of the spaghetti sauce for the casserole and baked it up, thinking that I’d be eating it alone the next few days. When it came out of the oven, Perry immediately wanted to know why there wasn’t any on his plate. I was sure that when I told him it was a squash casserole, he’d change his mind, but he insisted on having a piece. Then the kids eat wanted to try it. Everyone loved it! So now I have to make a bigger one so everyone can have a whole piece for dinner (and so I can have some leftovers!).


Ingredients

One spaghetti squash

Vegetable spaghetti sauce

Onion, garlic, peppers, all chopped (I used one onion, one pepper, 4 cloves of garlic – I like garlic!)

Vegan shredded mozzarella

Sriracha or your hot sauce of choice

Organic soy burger or hot dog of choice, cut into bite sized pieces (1 for small casserole, 2 for large) – optional

(Why soy? There are lots of options for meat substitutes, and in general, you’re better off without relying too heavily on these processed products. But if you want to have a more meat-like chew in your bite of casserole, soy has a good texture. Why organic? Because the vast majority (more than 90%) is genetically modified and treated heavily with pesticides. It’s highly allergenic to many and the added chemicals may have links to a host of serious diseases. So I don’t eat it, I don’t recommend that you do either. Unfortunately, this time the soy burgers I could find weren’t organic, but they were non-GMO. I do what I can…)


First, cook the squash. Wash it, put in in an oven safe container and bake, whole, for one hour. Let it cool a little.


While the squash is cooking, saute your veggies in olive oil until slightly softened. Add your jarred spaghetti sauce and warm through.


Cut the squash in half (use potholders if you need to), and scoop out the seeds, leaving as much squash behind as you can. Then use a large fork to shred the squash into strands.


Arrange your “spaghetti” in a lightly oiled casserole dish and cover with sauce. Don’t be too generous or the casserole will be watery. Add sriracha here if you like it spicy! Taste the squash and sauce and add salt and pepper to taste (freshly ground black pepper is excellent for digestion). Cut your veggie burgers into bite sized pieces and add to the dish if you’re using them.


Sprinkle your vegan cheese on top and broil until the cheese is bubbly and lightly browned. If you’re not making this vegan, you could add some parmeggiano-reggiano shreds for additional flavor. Let it set for a few minutes, then cut, serve and enjoy!


Do you have a favorite vegetarian meal? Please share in the comments below!

READ MORE

My New Favorite Ingredient

Welcome back everyone! Recently I’ve started baking again. I had given up baking bread because the little one and her gluten sensitivity meant that if I made bread, she couldn’t have any. So I’d still have to buy gluten free bread for her, (which was expensive) and it wasn’t even organic. So when I found einkorn wheat and found out that she didn’t have any reaction to it, I got busy baking again. Which led to baking other things…


Like brownies. I love chocolate.  I think it should be its own food group. Really, I could give up almost anything, but when I think if I had to give up chocolate, color start to fade right in from of my eyes. Yes, very dramatic, I know! But if I make brownies for me, there are four small people who smell the chocolate and feel very much like me about it. And while three of them could eat regular brownies, the smallest one would look very sad and pitiful if she was the only one who couldn’t have any. Then I would feel very, very guilty, and there’s enough of that going around without me creating it. So, I started looking for gluten free recipes for brownies. The one I chose had one of my other favorite foods made into flour: almonds!


Almond flour is just ground almonds, but it’s made nice and fine to feel like flour. If I tried to grind my almonds, I’d get almond butter, which is delicious, just not what I need for baking. Because there’s no gluten in almond flour (which holds things together and makes them springy), you need a binder to hold things together in place of the gluten, and many recipes use a little arrowroot starch.


The second almond flour recipe I had to try was for cornbread. So yes, I know that you can make cornbread gluten free with just cornmeal, and actually, that the traditional way to make it. I’ve been doing that for awhile so that everyone in the family can have cornbread with their chili. But, I grew up on that sweet cornbread mix in the blue box, and I wanted to see if I could make a cornbread a little softer that the one you get with cornmeal alone. And almond flour gets closer! I didn’t make it as sweet as the one from the blue box, but that’s because I’m trying to do less sugar. Except chocolate of course. (Disclaimer: The one good thing about the chocolate for me is that I only eat dark chocolate, which does have less sugar. And lots of antioxidants. Dark chocolate (70% cacao or greater)  is actually superfood because of those antioxidants, which can help prevent heart disease and lower blood pressure. So it’s really good to eat a small amount of dark chocolate!)


Matcha and dark chocolate – two powerhouse antioxidant foods! And so yummy!


So let’s get to the recipes!

Almond Flour Brownies (This recipe comes from One Lovely Life)

Serves: 16 brownies
INGREDIENTS
  • ⅔ cup semi-sweet or dark chocolate chips (I use dairy free chocolate chips)
  • 5 Tbsp coconut oil (can sub butter, avocado oil, vegan butter, ghee)
  • ⅔ cup coconut sugar (can sub white, brown, or maple sugar)
  • 2 eggs
  • 1 tsp vanilla extract
  • ⅔ cup blanched almond flour
  • 2 Tbsp unsweetened cocoa powder
  • ½ tsp baking soda (if paleo) or baking powder
  • ¼ tsp salt
To mix in:
  • ⅔ cup additional chocolate chips or chopped chocolate (can sub nuts)


INSTRUCTIONS
 Preheat oven to 350 degrees. Line an 8×8 baking pan with parchment paper or spray with nonstick spray.
In a small saucepan, gently melt chocolate and oil over low heat until smooth and glossy. (Don’t walk away – I almost burned my chocolate!) Remove from heat and set aside to cool slightly.


In a small bowl, whisk together sugar and eggs until slightly lighter in color and until they pass the ribbon test (when you lift the whisk the mixture should stream down evenly in “ribbons”). Set aside.


In a medium bowl, whisk together the dry ingredients–almond flour, cocoa, baking soda, and salt.


Working slowly, whisk the egg/sugar mixture into the saucepan of melted chocolate. Whisk until smooth. Stir in vanilla.

Stir in the dry ingredients and fold until just mixed.

Fold in the additional chocolate chips (I laid mine on top because they were pretty chocolate disks).

Pour batter into your prepared pan and smooth the surface. Bake at 350 degrees 20-24 minutes, or until edges are set and the center is still ever so slightly underdone. (The remaining heat should set the center as it cools)


Sprinkle with coarse salt, if using, and allow brownies to cool before slicing (I didn’t do this, but it would have been good!).


And, the cornbread!
 
Almond Flour Cornbread (this recipe is from Tastefulventure)
 
INGREDIENTS
  • 1 cup Cornmeal
  • 1 cup Almond Flour
  • ½ tsp Sea Salt
  • 1 Tbs Baking Powder
  • ¼ cup Unsalted Butter softened
  • 1 Egg
  • 1 cup Unsweetened Almond Milk
  • 1 Tbs Honey


INSTRUCTIONS

Preheat oven to 425 degrees.

Mix cornmeal, baking powder, salt, and almond flour.


Add egg, butter, milk, and honey. Mix until just combined. Don’t over mix!


Add to a well oiled 9 inch cast iron skillet. Bake for 20 minutes and enjoy!


READ MORE

Sugar Scrubs!

This week I’m gonna let you in on one of my little secrets: I suffer from a minor malady I call “Princess Syndrome”. I need quiet and darkness to sleep, I can’t be too hot or too cold or I can’t sleep, and I hate bad hair days (don’t we all?). To me, even though it’s categorized as a non-necessity, I feel like pedicures are required, even through the winter months. I love a good massage and one of the best gifts ever is a day away at a spa. Yep, I’m a spa girl!


But while I’d like to live the life of leisure that goes with a spa life, I really don’t have the time. Oh yeah, and it’s really expensive to live that way! So I go to the spa when I get a special gift, but otherwise, it’s DIY. And that brings me to the post today – making sugar scrubs. I always moisturize after bathing, but my favorite time is after I’m clean and lotioned and feeling comfy in my jammies. I don’t like the cold-after-the-bath feeling, so I hurry through the lotion part as fast as I can. Sugar scrubs are the best of both worlds, because you can use them in the shower or bath while you’re warm, and then when you get out, pat dry, and get in your cozy clothes! Besides, if you shave, the sugar scrubs don’t sting like the salt ones…


I got into sugar scrubs last winter when I got one by Deep Steep from a Marshall’s near my house. I rarely buy regular retail for anything, but sometimes there are great discounted cosmetics at stores like that. The one I got was some kind of seasonal winter fragrance that was soft and yummy without being overwhelming (I’m very picky about fragrance too). Deep Steep makes organic products and this scrub was wonderful. But when it was gone, I couldn’t find any more, and for $12 a jar or so retail, I had to make my own. I mean, I have sugar and butters and oils, right? So here’s what I did in 20 minutes on my morning off this week. It’s actually a lot easier than you might think…


First, gently melt your butters in a glass bowl over a small pot of water. You can microwave them, but I want to keep them raw, which means not overheating them, and that’s hard to do right in a microwave. I used half east African shea butter (softer than west), and coconut oil this time. You can mix olive oil, sweet almond oil, cocoa butter (if you want to smell like chocolate) or any blend of oils and butters that you like.


Put your sugar to fill your container 3/4th full. Your oil will settle into the sugar, but you need a little space at the top so you can stir. I used empty containers I’d been saving…


Once the butter is melted, take it off the heat and let it cool a little. Then pour it into the sugar and let the air bubble up.


When the oil has settled, you can add what you like to make it smell good!  I picked rosemary, lavender, and thyme from my backyard herb garden. Lavender is so calming and healing, and rosemary is one of my favorites! It’s also an excellent natural  preservative…


I chopped it up finely and added it to the scrub. Then I added rosemary and lavender essential oils and mixed it all together.


The second jar I wanted to be a sweet-spicy comforting scent, so I added cinnamon, nutmeg, cardamom and vanilla and a few drops of Thieves oil to the sugar-oil and mixed it all up. I wish you could smell it – I wanted to eat a spoonful!


Then I let the jars cool in the frig for a few hours and they were ready to go! Aren’t they pretty?


How do you pamper yourself at home? Any ways you get your little luxuries and save money too? Please share in the comments below!

READ MORE

Vegan Mexi-Quinoa Bowl

Welcome back! We’re celebrating more veggie dishes in anticipation of the Tea Talk next week. It’s only eight days away! If you want to come, go to the Event Brite to get your ticket before they’re all gone…


Anyway, I have a new friend and I want you to meet her. She’s my newest kitchen toy, the Instant Pot! No, I’m not getting any endorsement or anything to talk about it, I just like it. The instant Pot is one of those all-in-one appliances that has many functions and is supposed to replace many of your existing kitchen tools. It is an electric pressure cooker, a rice cooker, a slow cooker, a yogurt maker and probably some other things that I don’t know about yet. I heard from a few people in our homeschool group and from nurses at the hospital that this pot was incredible, but I was skeptical. So on Prime Day when it was on discount I bought one. I haven’t tried slow cooking in it yet, but it’s better than my rice cooker and my stove top pressure cooker. So I’ve been trying out all kinds of fun recipes!


I was introduced to pressure cooking by a midwife colleague of mine. Well actually, she made me a soup after the birth of one of my babies and when I asked for the recipe, she told me how she made it in the pressure cooker and I didn’t have one. So I bought a really good one, cause I was afraid like every other pressure cooker newbie that the thing would explode in my kitchen. I made several things (including that soup!), but it was a too much work, having to babysit the pot and time the pressure cooking. So it sat in the cabinet more than I used it. The Instant Pot is nicer because once you tell it how long you want it to cook, you walk away and do something else until it’s done. And I need every spare minute I can find, don’t you?


So this week I made a vegan mexi-quinoa bowl from a recipe I found on a wonderful website called The Detoxinista. She specializes in very clean, whole foods recipes. I’ve made several of her recipes and they’re really good! Go to this link to get the original Vegan Quinoa Burrito bowl recipe. If you don’t have a pressure cooker, you can do this on the stove top.  Go to her link to see her stove top direction at the bottom of her recipe. I added a few changes to my recipe, so here it is!


Vegan Mexi-Quinoa Bowl

Ingredients
  • 1 teaspoon extra-virgin olive oil
  • 1/2 diced red onion
  • 1 diced red bell pepper
  • 1/2 teaspoon sea salt
  • teaspoon ground cumin
  • 1 teaspoon chili powder
  • 1 cup quinoa, rinsed well
  • 1 cup prepared salsa
  • 1 cup water
  • 1 1/2 cups cooked black beans , or 1 (15 oz.) can, drained and rinsed
  • Optional toppings: Avocado , guacamole, fresh cilantro, green onions, salsa, lime wedges, shredded lettuce, shredded red or white cabbage, corn


Instructions
Chop all your veggie and toppings so you’re ready to cook. When I did this, I got to teach my daughter (the one who loves to cook) about “mis en place”. It makes things easier!
Heat the oil in the bottom of the Instant Pot, using the “saute” setting. Saute the onions and peppers until start to soften, about 5 to 8 minutes, then add in cumin and salt and saute another minute. Turn off the Instant Pot for a moment.


Add in the quinoa, salsa, water, and beans, then seal the lid, making sure that the switch at the top is flipped from venting to sealing. Press the “rice” button, or manually cook at low pressure for 12 minutes. Let the pressure naturally release once the cooking is over, to make sure the quinoa completely absorbs the liquid. (This takes 10 to 15 minutes.)

Remove the lid, being careful to avoid any steam releasing from the pot, and fluff the quinoa with a fork.
 
Serve warm or cold the next day for lunch, with any toppings you want!
My husband inhaled this dish, and he’s not even close to vegan. But he enjoyed this one!
What’s your favorite veggie recipe? Please share in the comments below!
READ MORE

Asian Veggie Pancakes

Welcome back, everyone! I’m glad you’re here. It’s been a great week – I got my computer data recovered (Yay! See last week’s post to see the drama with that.) I’m going to a conference on Integrative Women’s Health next week, and it’s time for the next Tea Talk. We’re going to be talking about Food As Medicine Part 2: Plant Based Living. I’m getting ready and it’s coming together. I’ve been baking some healthy goodies for my attendees and have been writing the talk, and before we know it, September 23rd will be here!


So in honor of our topic for the Tea Talk, I’m sharing one of my favorite vegetarian dishes this week. It’s not vegan, because it contains eggs, but I’ve adjusted the recipe to be low-gluten so my gluten sensitive baby can eat the pancakes. What do I mean “low-gluten”? Let me explain…


A while back, I wrote about using food to help heal my youngest daughter’s eczema in my Food As Medicine post. I found that when I eliminated gluten from her diet, her eczema cleared up dramatically. The problem was, a much of the gluten free prepared breads, crackers, etc are not organic. Why not just stop feeding her bread and crackers then, right? Well, she’s four. It’s been a fairly easy sell to get her opt out of anything that’s not gluten free (she doesn’t like being itchy!), but if I tell her she can’t have sandwiches or an occasional cookie while her siblings are eating them, that’s just not going to go over well. She’s four! I know it could be done, but I’m not there yet.


And then I learned about einkorn wheat.


I started reading about how our modern wheat is cultivated to have more copies of its normal chromosomes per cell. This isn’t the same thing as GMO (genetically modified organism) crops; it’s how the wheat was grown over the years. To make it simple, the genes in the chromosomes direct protein production, and gluten is a mixture of two proteins that help make the elastic structure of bread. It’s what makes it light and springy! Modern wheat has six copies of chromosomes per cell, unlike the ancient einkorn wheat that has only two copies per cell (same as our human cells).


Because there are fewer copies of the genes that produce the proteins for gluten, einkorn wheat has lower gluten content than modern wheat. For someone who has a true gluten allergy (celiac disease), this isn’t an acceptable option. But for people like my baby girl who are sensitive to gluten, einkorn wheat is much better tolerated. My daughter has no reaction when she eats einkorn wheat products, as opposed to the immediate misery she experiences when she eats modern wheat. Some people who have brain fog, bloating, gassiness, and inflammatory responses to modern wheat do not have this reaction to einkorn.


Ok, enough of the science. Let’s get to the recipe! I’ve amended this recipe from Smitten Kitchen‘s Japanese Pancakes recipe. Let me tell you, that woman can cook! She’s got some wonderful recipes and I’ve tried many. It’s not a “healthy food” site, but if her site gets you cooking more, I’m all for it. Gotta start somewhere!


Low Gluten Asian Vegetable Pancakes


Yield: 4 large pancakes or 12 small ones

Pancakes
1/2 small head cabbage, very thinly sliced (1 pound or 5 to 6 cups shreds) – a mandolin is useful for this
4 medium carrots, peeled into ribbons with a vegetable peeler – shredded carrots don’t hold together as well in the pancakes
5 lacinato kale leaves, ribs removed, leaves cut into thin ribbons
4 scallions, thinly sliced on an angle
1 teaspoon kosher salt
1/2 cup all purpose einkorn flour (you could use regular or gluten free all purpose if you want)
6 large eggs, lightly beaten
Olive oil for frying (coconut oil might be good too!)


Dipping Sauce

2 tbsp hoisin  (or omit if gluten free)

2 tbsp ketchup

1 tsp tamari

1 tsp to 1 tbsp toasted sesame oil

1 tsp rice wine vinegar or rice cooking wine

1 tsp dijon mustard

Adjust to taste


Make the pancakes:

Combine your veggies in a large bowl. Toss with flour thoroughly, then add the eggs and mix well.  Heat your oil in a large heavy skillet. When the oil is ready, grab small piles of the veggies mix with tongs or your fingers and place them in the pan. Flatten the pancakes with your spatula and flip when one side is golden brown and crispy. You can keep these warm in the oven at 200 degrees until you’re ready to serve.


Make the sauce:

Stir together the sauce ingredients and drizzle over the pancakes to serve. Scatter the sesame seeds on top and voila! Yumminess is served! You can eat this as a side dish or as a main dish over brown rice or your favorite grain. You could even make it a bowl and put rice on the bottom, shredded green leaf lettuce and sliced avocado and a little miso dressing with the pancake on top. I might eat that tonight!


When I made these tonight, my middle girl came into the kitchen and her eyes got SO big – she remembered the last time I made them and said, “Yum, veggie pancakes!” They were so good!


Come see me at the Tea Talk on September 23rd! Go to:

https://www.eventbrite.com/e/tea-talk-food-as-medicine-part-2-tickets-37021974723 to get your spot!

READ MORE

Cool Summer Juices

Welcome back! I know that lots of us here in the south are about to start back to school and that means it’s almost fall, but I’m fighting it. It seems too early for the end of summer to me! So I’m hanging on to all the bounty of summer and enjoying the fruits and veggies that are everywhere right now. This week I’m going to share two of my new favorite juice recipes. Ok, so yes, I did say in an older post that I don’t like juices. But I’m not so rigid that I can’t enjoy some fresh fruits and veggies made into brightly colored juice sometimes! Besides, the reasons I don’t like juice as routine isn’t applicable to everyone or every situation. So why do I say I don’t like juice? Here’s the recap:

  1. Most juice is highly processed. This means that the vitamin and mineral content is diminished because of the age and heat applied to the juice in processing. Yes, I’m talking about most commercially produced juices.
  2. Juice is often high in sugar and low in fiber. If you eat the fruit or vegetable you’d get the fiber, which helps your pancreas to get to process the sugar load more slowly.


But… You can make your own fresh juice and capture all those vitamins and antioxidants in a glass. If you consume the juice in 1-2 days after making it, you’ll get most of the goodness from it. The fresher, the better, but we can’t always make juice everyday, no matter how easy it is to clean your juicer! (If you want to read about the juicers I use, go to To Juice or Not To Juice). Also, depending on what kind of juice you make, you can blend up the whole fruit or veggie and get the fiber too. If you’re having trouble getting enough fresh fruits in your diet, this is one way to get some more. I wouldn’t substitute juice for chewing the fruit, but it can be another way to get what you need…


So what kind of juice am I making now? The first is a watermelon cooler and it’s incredibly easy and delicious! Because the watermelon is mostly water anyway, I just blend it up without adding more liquid. If you want a creamier drink, more smoothie-like, you could add almond milk (or your milk of choice). This drink is light, full of vitamins A and C (immunity and antioxidants), lycopene (good for the heart and bones), may soothe the GI tract (good for reflux), and is a natural diuretic (which may help you relieve unwanted bloating and lower blood pressure). Try it out!


Watermelon Cooler

1/4 small watermelon, cut into chunks

mint leaves (10-20, depending on your taste)

juice of one lime


Put it all in the blender and blend it up. Enjoy!


The second juice requires a juicer or you may need to strain the pulp out with a jelly bag if you blend the veggies with a high speed blender instead. I love carrot juice! If you have a juicer, you can enjoy this earthy sweet juice easily and quickly. If you want it a little more sweet, you can blend in the pineapple as I did in this version, but you may not need it – the carrots are pretty sweet alone. Carrots are full of vitamin A, beta carotene, lutein and a variety of trace minerals. This can benefit eye health, immunity, heart health and fight cancer risk. Because carrots grown in the soil, this is a veggie I always buy organic. The healthier the soil, the better off your food is for you. Pineapples are wonderful for digestion because of the digestive enzyme bromelain that they contain. Try this one out!


Carrot-Pineapple Juice

8-12 whole carrots depending on size, scrubbed

1/3 cup frozen pineapple chunks

juice of one lime (or lemon if you prefer)


Juice the carrots. Add the lime juice to the carrot juice. If you want the pineapple, blend it into the carrot juice mixture. Frozen pineapple will blend up completely and will give you a little fiber too! I’ve tried to put it through my juicer – it just comes out in the pulp like ice cream, so I just add it to the blender. It’s a bright and sunny juice!

How are you enjoying the last days of summer? Please share in the comments below!

READ MORE

Eating A Rainbow

Here we are, mid-July and in the full swing of summer! I almost can’t believe it’s almost six weeks until our school year starts again. It seems like summer just got here and now fall is right around the corner. Anyway, time marches on, whether I’m ready for it or not! It is a reminder to me that I need to stop and breathe, live in the moment more, slow down. I need to notice what’s happening around me, instead of running through each day to the next. Do you ever feel like life is speeding up?


One reason this is so important to me right now is because we just came back from vacation. I keep joking that I’m going to invent a new word for vacation with kids, because it’s not really a vacation in the true sense of the word when you take the kids with you! To be fair, my kids travel well and they aren’t demanding about running from activity to activity. If they’re in the sand at the beach, they’re happy. And, I made sure to meditate and do yoga almost every morning before everyone got up, so I got my soul nourishment. But I didn’t sleep enough while we were away, and it’s tough to be tired at the end of a vacation. Then we came back to an empty refrigerator (of course!) and a full week of work, so it’s been a hustle to get reset at home.


Anyway, one of the things I recommended at my Tea Talk on Food As Medicine in June was to eat a rainbow. By that, I generally mean to eat fruits and veggies in a variety of colors. This helps us to get lots of vitamins and mineral as well as antioxidants to help us stay healthy and protect our bodies. But lately I’ve been cooking foods in one color – kind of monochrome. It’s been a little strange. Before I left, I made a beet soup, scratch marinara sauce from the tomatoes in my garden, and hibiscus tea – all red foods. And now I’m on a purple foods kick. It’s not really on purpose, but it’s what I want to eat. I’m eating blueberries, purple rice, purple cabbage and purple sweet potatoes. And they’re so good!


Just washed purple potatoes


Baked with butter and fresh black pepper. Yum!


So this week I’m going to give you my Sauteed Asian Purple Cabbage recipe – it’s easy and crazy good!


Sauteed Asian Purple Cabbage

Ingredients:

Half large purple cabbage, shredded (slice against the grain, but not super thin – it’ll get soggy)

One medium onion, diced

2-3 cloves of garlic, minced

Soy sauce or tamari (gluten free soy sauce)

Sesame oil

Siracha or other spicy sauce (optional)

Fresh ground black pepper to taste


The star ingredients!


Supporting actors…


Slice and dice your veggies.


Saute your onions and garlic in coconut or olive oil. Don’t salt – the soy sauce will be salty enough.


Add cabbage and cook for 5 minutes. Then add the soy sauce (or tamari), umami paste if you have it, and the hot sauce if you like it spicy. Grind lots of black pepper over the veggies. Fresh ground black pepper is good for digestion! Cook until the cabbage is still slightly crunchy. Turn off the heat and drizzle with the sesame oil. Sesame oil is great for finishing, but lots of heat isn’t good for its stability, so don’t cook with it, just add it at the end. And don’t skip this oil – it’s the star flavoring!


Enjoy this over rice or fresh salad greens, or as a side dish. 


What colors are you eating during these wonderful days of summer? How are you making sure to slow down enough to enjoy this season? Please share in the comments below!

READ MORE

Spring Pea and Mint Hummus

It’s gonna be a short one this week, folks! Tomorrow is my Tea Talk: Food As Medicine (part I) and I’m preparing to host a small crowd to talk about this topic that’s near and dear to my heart. It’s a little nutty around here! This is one of the dishes I’m serving at the talk. It’s a quick and easy, healthy and delicious whole food recipe that you can whip up and enjoy in minutes.


Now I know that officially we just entered summer, but although you could make this recipe with fresh spring peas (and more power to you if you can get them!), it’s easily made with frozen peas and you can get them anytime of the year. But this time of the year the mint is threatening to take over my backyard, so I try to use whatever we rip up in as many ways as possible. Mint is good for digestion and is cooling in the warm spring and summer down here in Georgia, so I make mint tea, mojito flavored smoothies, and this hummus.  Try this out!


Adapted from www.veganosity.com


Ingredients

4 cups frozen peas

2 tablespoons tahini

2-4 tablespoons of olive oil

2 garlic cloves (blanched, or use 1/2-1 clove raw if you like the garlic strong)

1/4 (or more!) cayenne pepper

1 cup (or more to taste) fresh mint leaves

zest of 1-2 lemons

juice of two lemons

salt to taste


Thaw your peas. You can run them under cool water in a colander – they thaw quickly!

Blanch the garlic cloves for two minutes in boiling water and then cool them in an ice water bath.

Add all the ingredients to your food processor.


Blend it up, adding more olive oil if you want a smoother consistency.


Serve it up with veggies to dip (or pita or chips or crackers or make it the base of your veggie sandwich!) and enjoy!

READ MORE

To Juice or Not To Juice

So, I realized after I wrote the last post, while still in the aftermath of my mini-meltdown I didn’t actually give out the recipe for the beet juice. And it’s probably my favorite juice for a few reasons. One, it tastes really good! Two, it has some very nice medicinal qualities: beets are a wonderful liver cleanser and a very good cathartic (yes, it’ll get your bowels moving!). Three, it’s pretty and that bright colored juice has lots of powerful antioxidants. I think it’s a great recipe and I want to give it to you. But there’s one problem.


I think juice is a bad idea.


Why? To start with, when you drink juice, you lose the fiber of the fruits and veggies you just juiced. That fiber helps to slow the rise of your blood sugar, so eating the whole fruit lets you eat sugar without the spike in your blood sugar. Also, most juices are mostly fruit, so we get lots of sugar and calories.  I’m not really good at drinking pure veggie juice yet… In any case, the main reason why I don’t really drink juice is because I have no space for empty calories. I’d rather eat my calories than drink them, so I drink lots of water and teas and not juice.


My pink fingers from those beautiful beets!


But this juice is an exception. I drink little glasses of it in the morning and it’s a tart little start to the day. One word of warning – strong beet juice like this can make your stools red. So if you see red in the potty the next day, don’t worry, it’s just the beets!


First, juicers. There are two main kinds: masticating and centrifugal. Masticating juicers are the exactly what their name means – they chew up the produce. It’s a grinding juicer that presses the juice at a low temperature, which allows you to keep the most nutrients in your juice. They are a quieter and more efficient for juicing greens, but they run a little more expensive. The centrifugal juicers are powerful and fast and cheaper, but they can generate more heat to your juice and break down your juice nutrients. In the pictures I’m using a masticating juicer, but I’ve made juice with my high speed blender too. Try this out with whatever you’ve got – I used my high speed blender and strained the pulp before I got an actual juicer. I used a jelly bag to strain the pulp out. It was messy but it worked too!


Ingredients

2 medium-large beets

6-8 carrots

2 apples (we like Fuji)

2 lemons

1 to 1 1/2 inch piece of ginger


Wash all your fruits and veggies well.


Cut the produce into pieces that will fit in the juicer. See my last post to see why this is important…


If you’re using a masticating juicer, alternate the hard veggies with the apples.  Save the lemons for last. When you’ve juiced the beets, carrots, apples and ginger, squeeze the lemons into the juice. You could juice the whole lemons, but the peel is very strong and can overpower your juice or make it bitter, so I don’t.


Pour your juice into your container and add some water until it has the taste you like. For the best nutritional value, drink over the next 2-3 days.


Try this out and let me know how you like it! Also, if you have a favorite juice you like to make, please share in the comments below!

READ MORE